How Can We Help?
How do I add a Client to an Encampment?
There are two ways to add a client to an encampment.
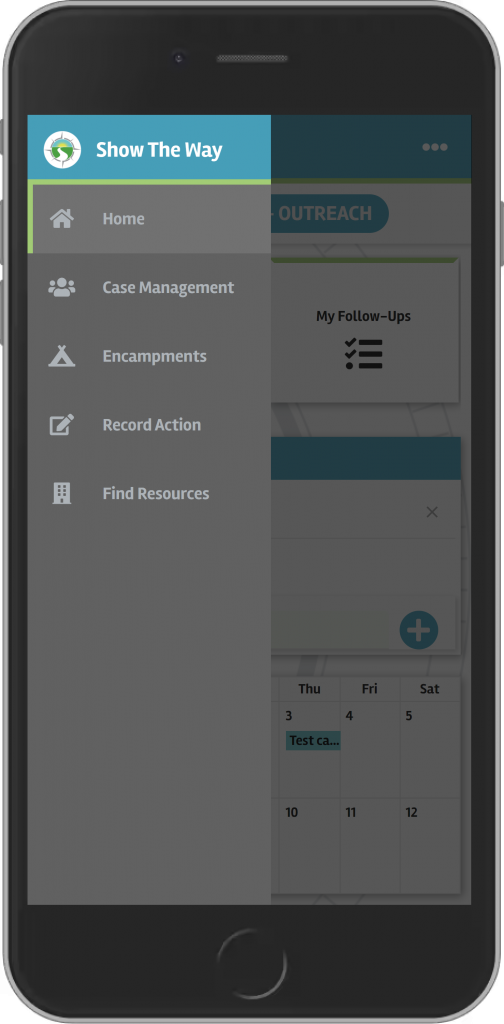
The first way we’ll go through starts with the Encampments button from the Main Menu:
To access the Main Menu, tap the Show The Way icon on the top left, or swipe with your finger from the left side of your screen. Then, select the Encampments button to view the Encampments in your local area.
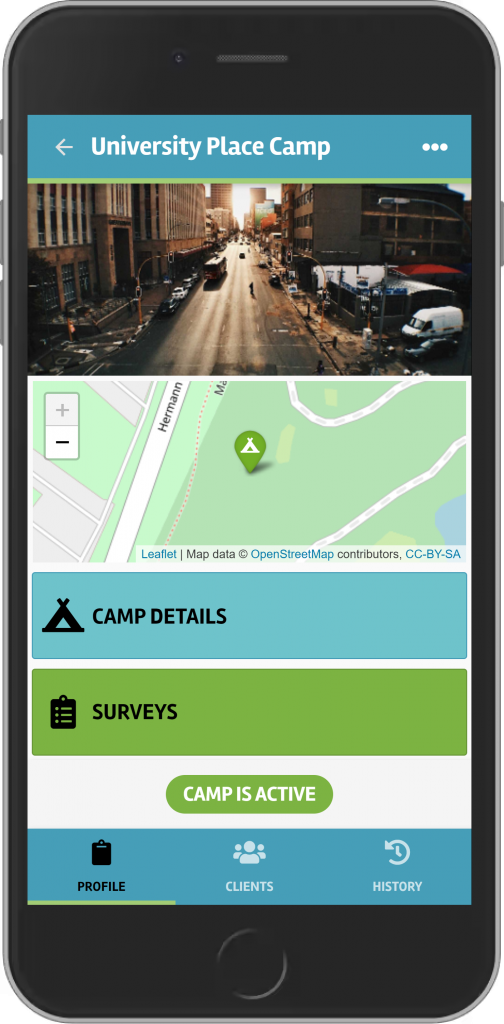
Once you’ve selected the Encampment you want to add clients to, you can select the Clients button at the bottom of the screen.
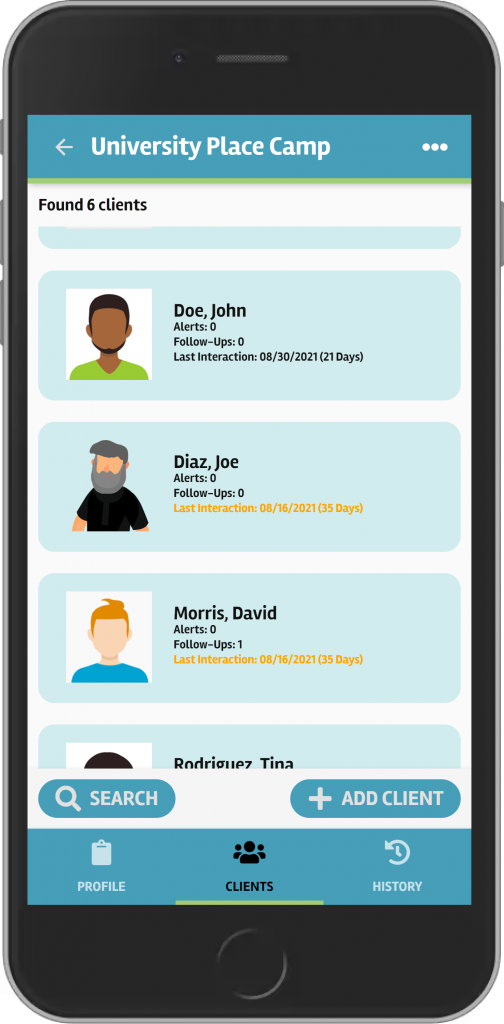
There, you’ll see a list of clients currently associated with this Encampment. Click the button at the bottom that says Add Client.
Next, search for the client you wish to add, or create a new client, if needed. Once you’ve confirmed the client record you wish to use, you’ll see a confirmation message that the client is now listed as staying at the Encampment. You can close the client to add another client, or you can start an interaction with this or any of the clients staying in that Encampment.
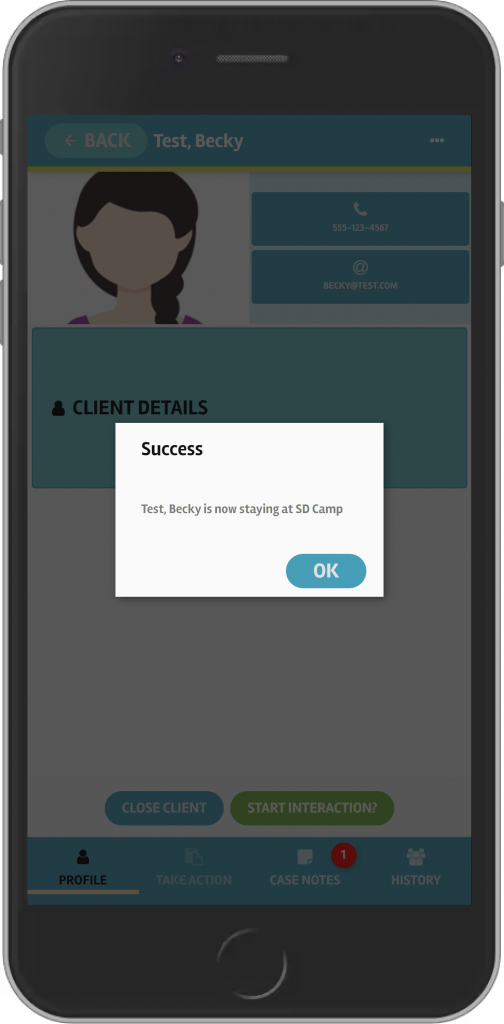
The second way to add a client to an Encampment comes at this from the client side using the Case Management button on the Main Menu.
Under Case Management, you can Start Interaction, Lookup Client, or use the My Clients button for a short list of clients you’ve had interactions with. Once you’ve selected the client with which you’re working and started an interaction, you’ll be on the Current Living Situation screen.
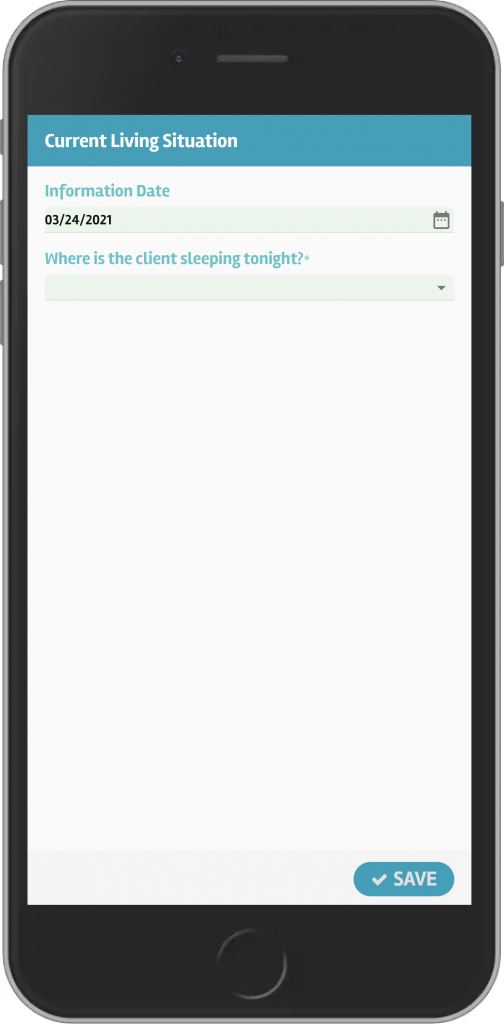
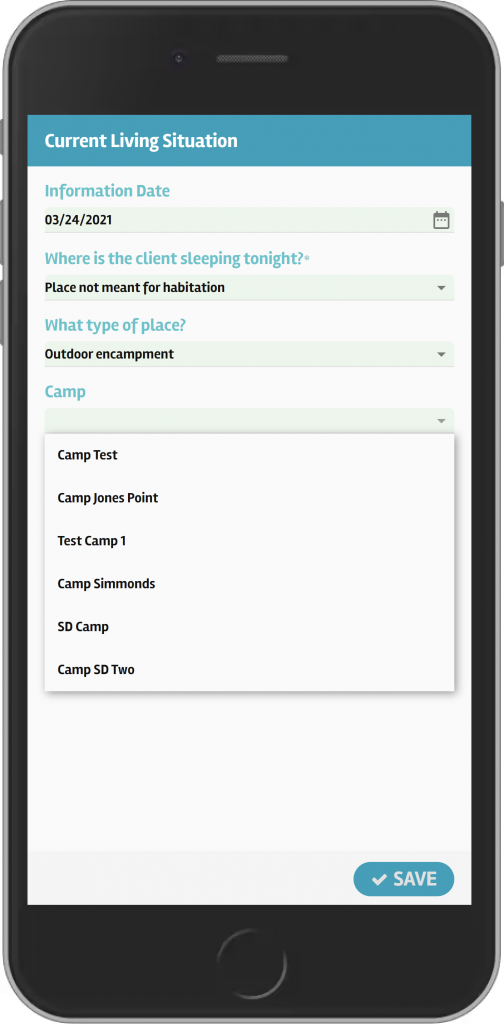
If the Client is sleeping at a camp, the initial response to Where is the client sleeping tonight? should be Place not meant for habitation.
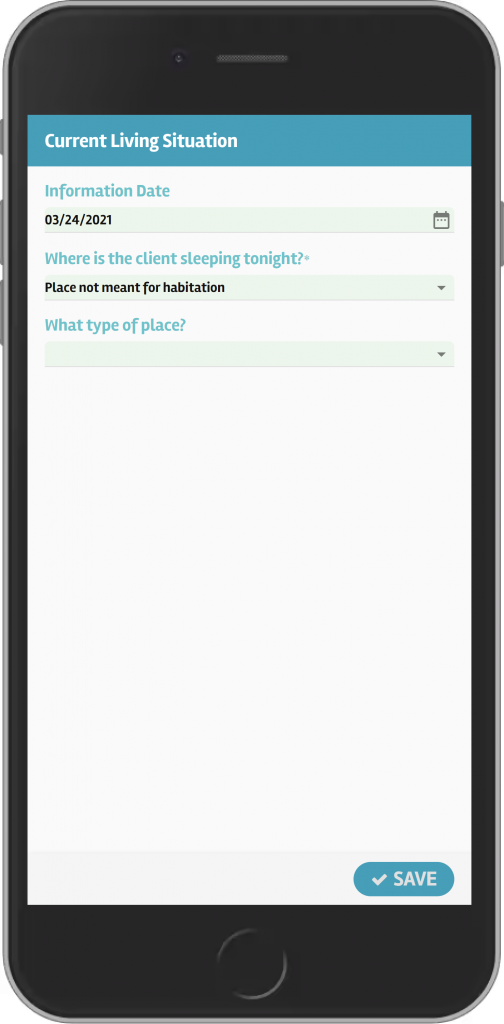
The What type of place? response should be Outdoor encampment.
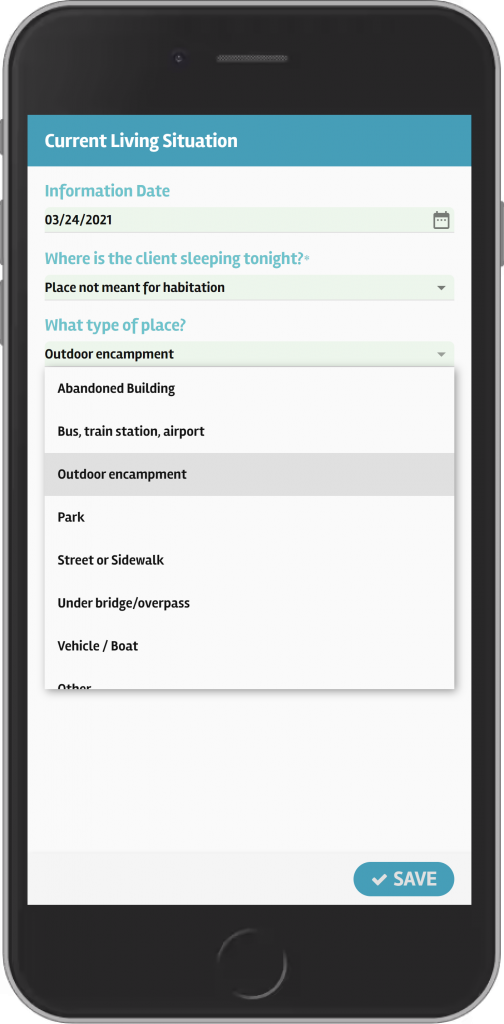
From there, you can select the Camp that you’d like to add this client to. Once you click the Save button, the Client will be added to that Encampment.
Note: If you haven’t created the camp yet, you’ll need to do that step first on the Encampments screen.
